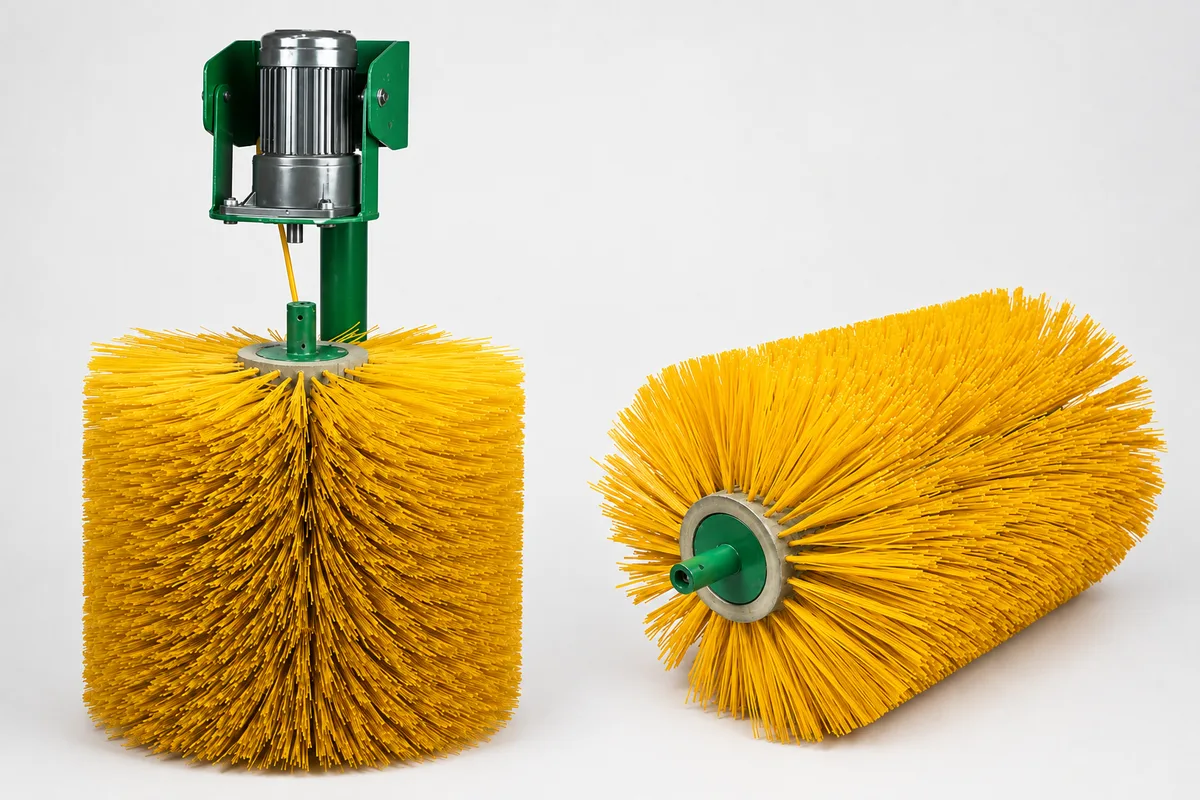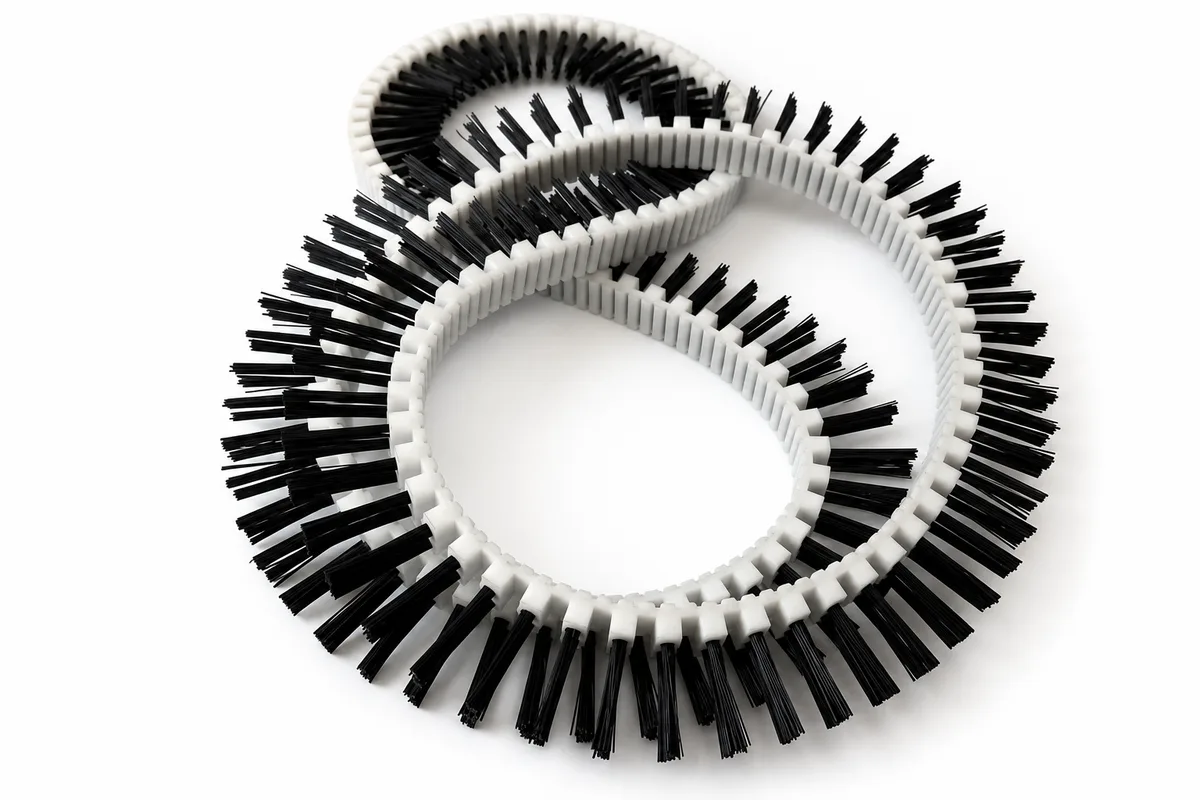
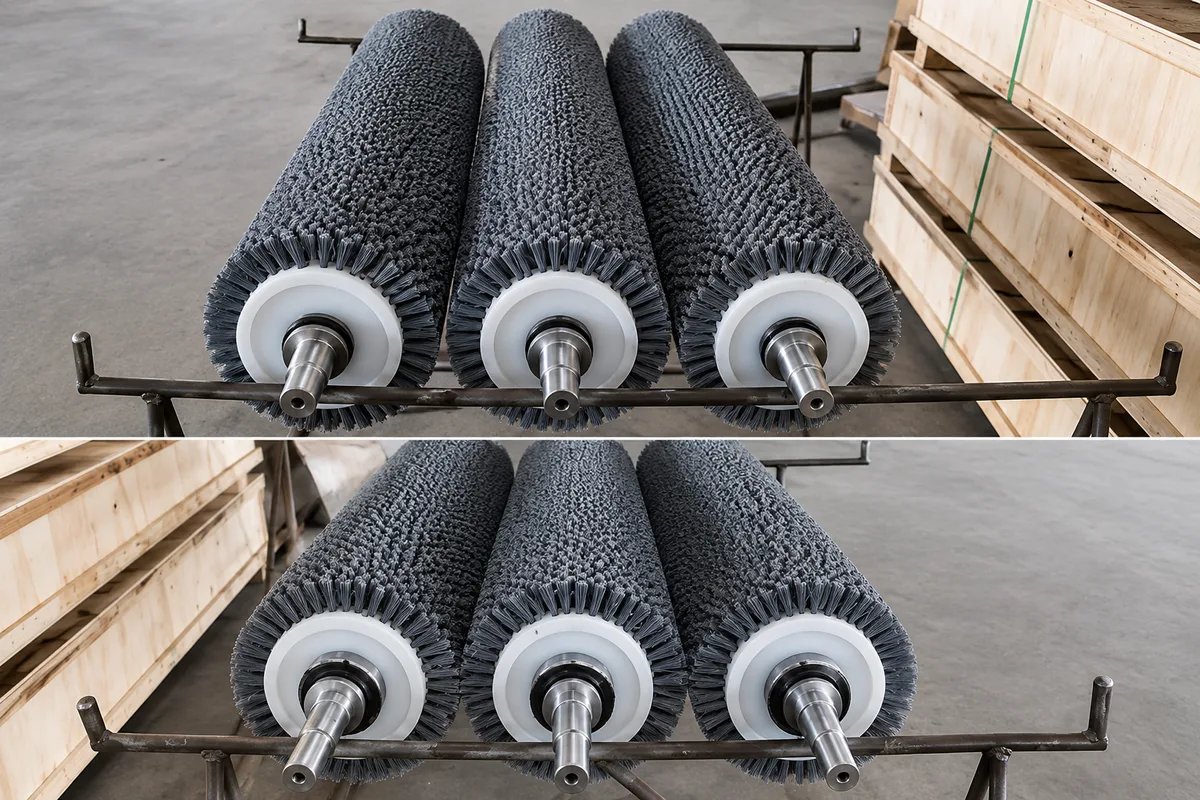
A replacement woodworking brush roller must match both the machine and the required surface finish. Start with a drawing or old sample, the machine and brush position, and a description of the wood and desired result. Machine model, outside diameter or grit alone cannot define a reliable replacement.
This guide covers custom abrasive filament brush rollers. A worn sample can help identify the construction and mounting, but its remaining diameter should not be copied as the new specification.
First Confirm Which Type of Brush Is Installed
An abrasive filament roller uses individual polymer filaments containing abrasive grain. Woodworking machines also use other tools that can look similar:
| Roller or head type | How to identify it and its usual role |
|---|---|
| Abrasive filament brush roller | Abrasive-filled synthetic filaments for fibre removal, grain refinement and selected profile work |
| Steel wire brush roller | Metallic wire for stronger grain opening and rustic texturing |
| Sanding-strip or flap head | Sandpaper strips or flaps around a hub for white-wood, profile or sealer sanding |
| Non-woven abrasive roller | Bonded fibrous abrasive web or discs for blending and light scuffing |
| Plain nylon or natural-fibre roller | Non-abrasive fill for dust removal, wiping or cleaning |
These tools are not interchangeable. The Timesavers Moulding Sander offers abrasive-strip, nylon and wire-brush heads within one machine family. A QuickWood replaceable-strip system uses sandpaper strips, not abrasive-filled filaments.
Define the Wood and Required Finish
Identify three things before choosing the replacement:
- Workpiece: wood species or panel material, and whether the surface is solid wood, veneer or coated.
- Process: grain refinement, loose-fibre removal, profile brushing or another specific task.
- Target finish: an approved sample board or clear photos showing the desired texture and any defects to avoid.
A texturing line may use a wire roller to open the grain and an abrasive nylon roller to refine it. Sealer sanding may require a different abrasive system, while a dust-removal station may need no abrasive at all. Timesavers’ brush-sanding overview illustrates these different process stages.
Keep the replacement matched to its actual station. A result approved on raw oak does not establish suitability for veneer or a coated cabinet door. For other brush positions, see our woodworking machine brush solutions.
Measure the Roller and Mounting Interface
First confirm the supply scope: a complete roller with shaft, a sleeve or brush sections, or a new brush body on a reusable shaft. Identify any collars, spacers and end plates that will remain with the machine.
Follow the machine manufacturer’s shutdown and isolation procedure before removal or measurement.
Finished Diameter and Working Face
Record the required new outside diameter separately from the current worn diameter. Use an original drawing, unused spare or machine documentation to establish the new size; housing clearance alone does not determine the correct diameter.
Measure the bristled working width separately from core length and overall shaft length. Show any stepped, profiled or unfilled areas on a dimensioned sketch.
Core, Sleeve and Shaft Ends
For a sleeve or sectional brush, show the bore, body length, section widths and retaining arrangement. For a complete shaft, show the journals, shoulders, keyways or threads and the overall length.
Measure both shaft ends independently and mark the drive end; they may not be symmetrical. Use a common reference shoulder or shaft end for axial dimensions, and include any fits or tolerances already specified on the machine drawing.
Do not copy a bent shaft, damaged keyway or unevenly worn brush without review. Tapered wear or bald areas may indicate alignment, bearing or contact problems rather than a need for an identical replacement.
Specify the Abrasive Filament
Two rollers marked with the same grit can produce different results. Match the following variables where known:
- Abrasive and grit: mineral, nominal grit and grit standard. Silicon carbide and aluminum oxide should not be treated as identical cutting systems.
- Filament: diameter or cross-section, carrier polymer and any existing material designation.
- Trim and density: exposed filament length and fill level. Shorter trim is generally stiffer; increasing stiffness or density can change profile contact, scratch pattern and edge treatment.
- Construction and coverage: tufted or spiral-wound construction, section arrangement, winding spacing and face profile.
If the old filament cannot be identified, send a sample or close-up photographs with the required finish. Do not select the material from colour alone. A sample trial is more useful than assuming that an unverified “120 grit nylon” designation will reproduce the old result.
Confirm Speed and Contact Conditions
Record the normal and maximum machine RPM, rotation relative to feed, and the current feed speed and brush-height or contact setting. Include oscillation, wet operation or other station-specific conditions where applicable.
Surface speed (m/s) = π × brush OD (mm) × RPM ÷ 60,000
A larger new roller has a higher surface speed at the same RPM. This formula explains the relationship; it does not establish a safe speed. The permitted operating speed must be confirmed for the machine and the complete brush assembly.
Machine examples such as the Felder structura 60.02 have their own brush and operating settings. Do not transfer another machine’s values to a custom replacement.
Excessive contact can increase heat, motor load and filament deflection. It should not be used to compensate for the wrong abrasive or a worn brush.
What If No Drawing Is Available?
- Photograph the installed roller and identify the machine, brush station and drive end.
- After safe removal, measure the working face and mounting interface, keeping worn dimensions clearly labelled.
- Send the old sample if material, profile or mounting details are uncertain, together with the required surface result.
- Review and approve a replacement drawing before production, resolving the required new diameter and operating limits.
A marked photograph or old sample is enough to begin the review. You do not need every technical detail ready for the first inquiry.
Validate Fit and Surface Finish
Drawing approval confirms the dimensions, not the result on wood. Installation and trials should follow the machine manufacturer’s guarding, isolation and operating instructions.
Mechanical fit: check shaft and drive engagement, retention, housing clearance and rotation. Investigate abnormal vibration, noise or motor load before continuing.
Dynamic balancing and runout checks can be arranged according to the agreed drawing and operating requirements. Feasible inspection criteria and any required records are confirmed before production.
Surface result: trial representative workpieces and compare fibre removal, scratch pattern, grain definition, edge condition and consistency across the width. Where relevant, also inspect the result after staining or coating.
Retain an approved sample board and record the accepted settings for repeat orders. After an initial production run, check for uneven wear, filament loss, loading or movement on the shaft.
Frequently Asked Questions
Can I order a replacement using only the machine model?
Usually not. One model may have several brush stations or optional heads. A photo of the installed roller and a drawing or sample help identify the correct replacement.
Is the grit number enough to match the old roller?
No. Abrasive mineral, grit standard, filament diameter, trim and density also affect the finish. If those details are unknown, use an old sample and an approved workpiece to guide the replacement trial.
Can one abrasive brush be used for raw wood and sealer sanding?
Do not assume so. Removing fibres from raw wood and scuffing a coating require different results. Confirm the brush system and test representative parts for each process.
Should a replacement use the same RPM as the worn brush?
Not automatically. Its larger new diameter may increase surface speed at the same RPM. Confirm the permitted speed and contact setting before trialling the replacement.
Can I reuse the existing shaft and replace only the brush body?
Yes, where the shaft and brush construction are suitable. We can review rebristling or a replacement sleeve or brush body after checking the shaft condition, journals, drive features and retaining arrangement. A bent shaft or damaged mounting features may need repair or replacement first.
Request a Replacement Roller Review
To begin an inquiry, send what you have from these five groups:
- Drawing or old sample: a drawing, marked photos or a measured sample.
- Machine and brush position: make, model, station and what needs replacing.
- Wood and desired finish: workpiece material, target result and the current problem.
- Known material and operating details: existing filament or grit designation and available speed or setup information.
- Quantity: trial quantity and expected repeat-order needs.
We can clarify missing details with you and review a made-to-drawing replacement. Request a custom brush roller quote.